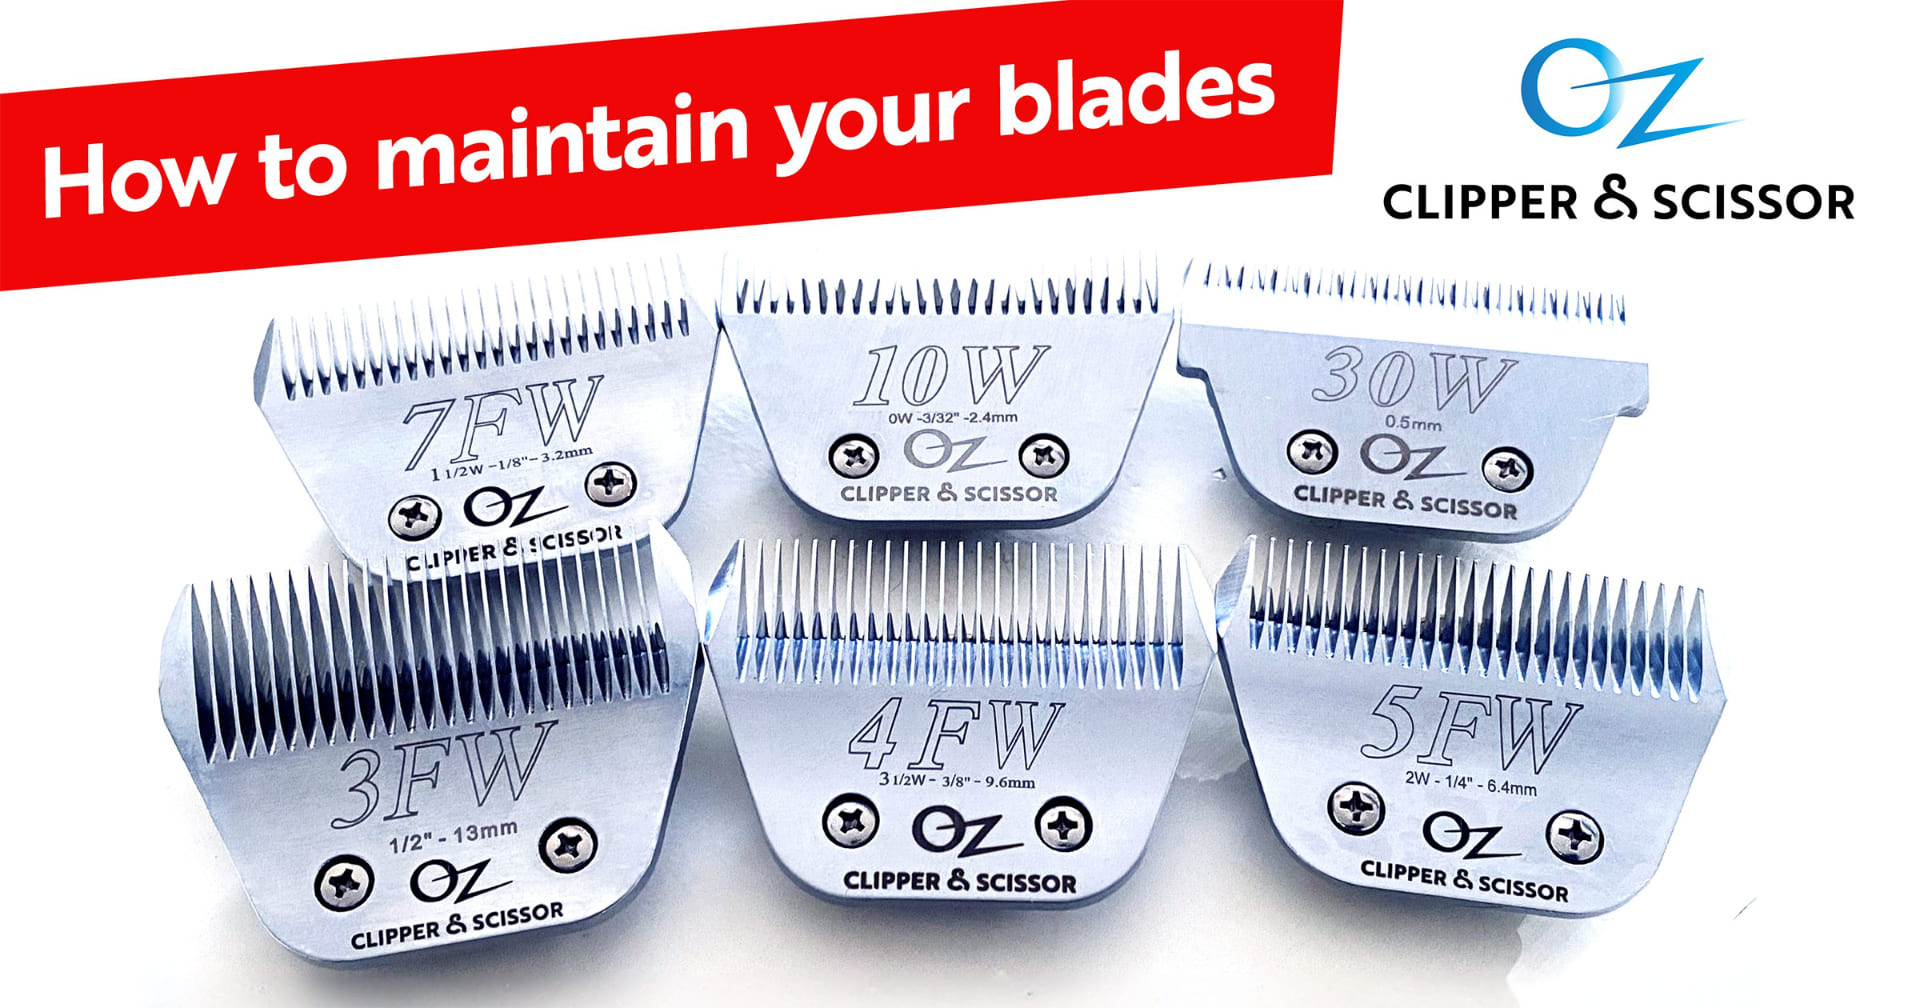
Clipper blade maintenance will save you time and money with sharpening and replacements.
Oiling will prevent friction, overheating and pet dandruff sticking to the cutting blades. If blades overheat, they damage the blades and make your clipper work unnecessarily harder!
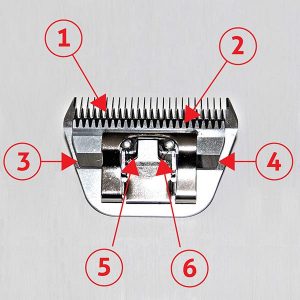
The six important areas to oil your clipper blades:
- Along the entire length of the cutting blade.
- Along the entire front of the plastic guide.
- Both ends of the cutting blade where it sits on the comb blade rail.
- Both internal edges of the cutting blade are in the middle area near the socket.

It’s a good idea to lightly re-oil before starting to groom, being mindful not to apply too much oil as it can drip through the teeth and onto the animal’s coat.
Clean regularly. Pour some H42 clipper blade cleaner into a small container that the clipper blade will fit into while attached to the clipper itself. Only fill the container sufficiently to dip the clipper blade into the container up to the back rail of the comb blade near the screws.
Be careful not to immerse any part of the hand-held clipper itself into the H42 liquid.
Once the clipper blade is safely immersed in the H42 switch the clipper on and run it for a few seconds, this should be sufficient to remove any impurities.
Caution: Always remove the clipper blade from the clipper and wipe off excess liquid before using the blade and clipper. Otherwise liquid could leak into the clipper unit and damage the motor.
Always remember to re-oil the 6 areas of the clipper blade after each clean, after blades are completely dry.
Tension on the spring is important, the recommended pressure is between 2 3/4 to 3 1/4 pounds in imperial terms (1.25kg to 1.48kg).
If tension is too light blades will not cut properly – we always re-set tension when we sharpen them for you. If the tension is too high, it will heat the blades quicker and make your clipper work harder.
